A few years down the memory lane, there were lots of freeware and open source screen recording tools available for windows. Today most of the free screen recording tools for windows are available as a free limited trial. One has to pay for these to be able to make use of all the features. Most screen recording tools are offered as trial-ware, limit the duration of screen recording or add a logo on the recorded video.
Professionals can always go for the paid version of these screen recording tools, but for people who need them very rarely or cannot afford to pay for them, the options are very limited. Personally I was a fan of FRAPS, an paid screen recording tool for windows, which didn’t have any fancy options and let me record screen video with the click on a button.
Unfortunately, the FRAPS has been abandoned since 2013 and the older version no longer work properly on windows 10. So recently when I needed to record a screen video, I had to search for the latest tools available for screen recording.
The search for the best and free screen recording tool made me familiar with many new options. However in the end, I zeroed in on a tool that I had used before and it has now become even better.
OBS is my new favourite after FRAPS. OBS or Open Broadcaster Software is a open source tool that is primarily developed for video recording and live game streaming. The interface of OBS is overwhelming and makes it look powerful beyond my basic requirement of screen recording. As it is developed for live game streaming, so there’s no way to hide all the extra options apart from the only one we require. But the good with OBS is, you’re just a click away from recording your computers screen.
how you can record unlimited screen video for free with OBS
Here is how you can record unlimited screen video for free with OBS.
Step 1: Download and install OBS on your computer.
Step 2: Go to the Settings.
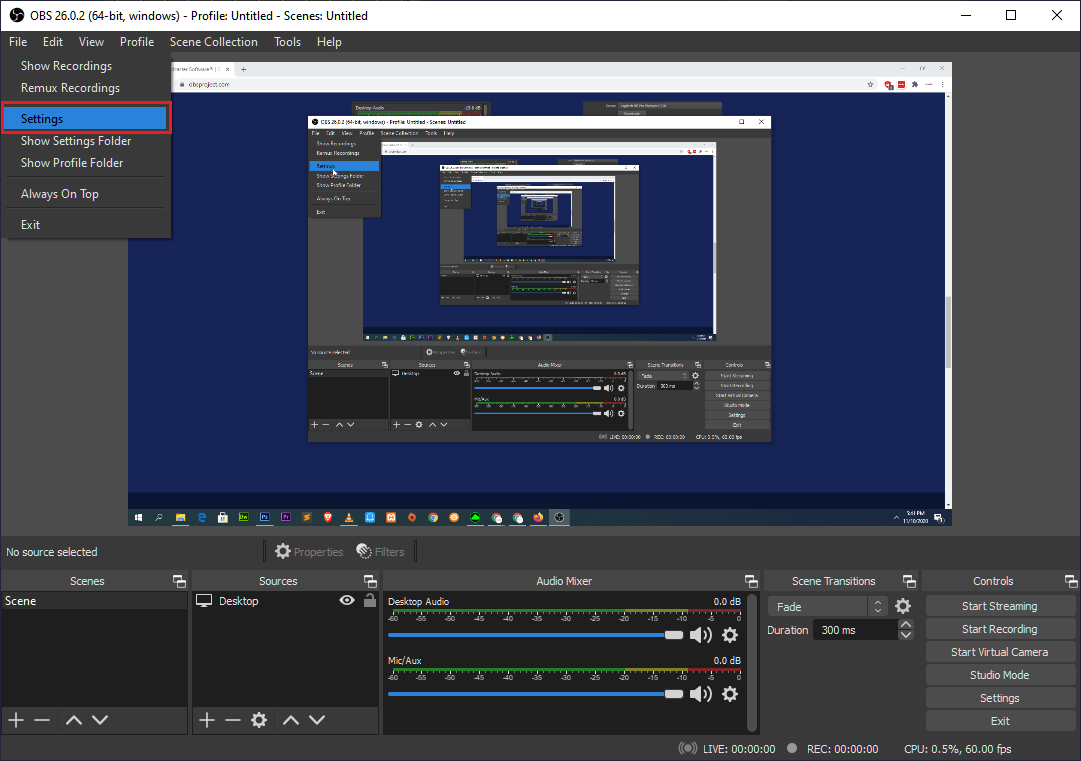
Step 3: Click on Output.
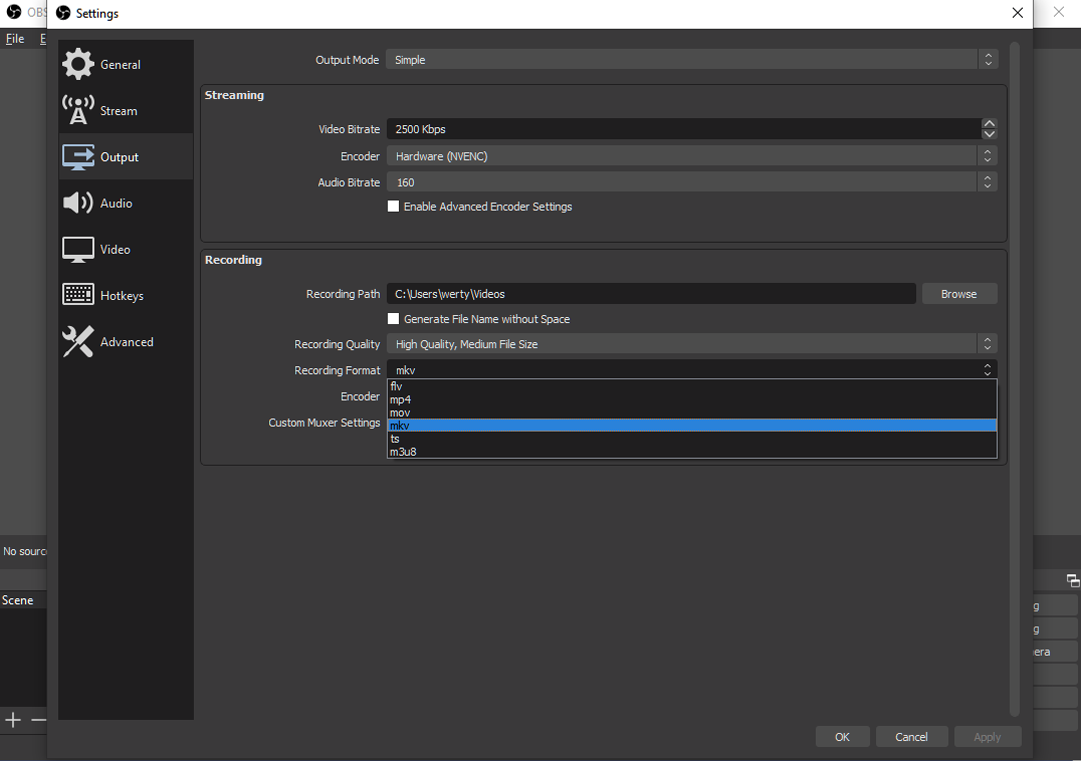
Step 4: Before we can start recording screen video, we have to go to the settings and change the default settings for video recording. If you want to record using the default settings, skip to step 8.
Under Recording,
Step 5: Click on browse to the right of Recording Path to select the folder in which you want the recorded videos to be stored.
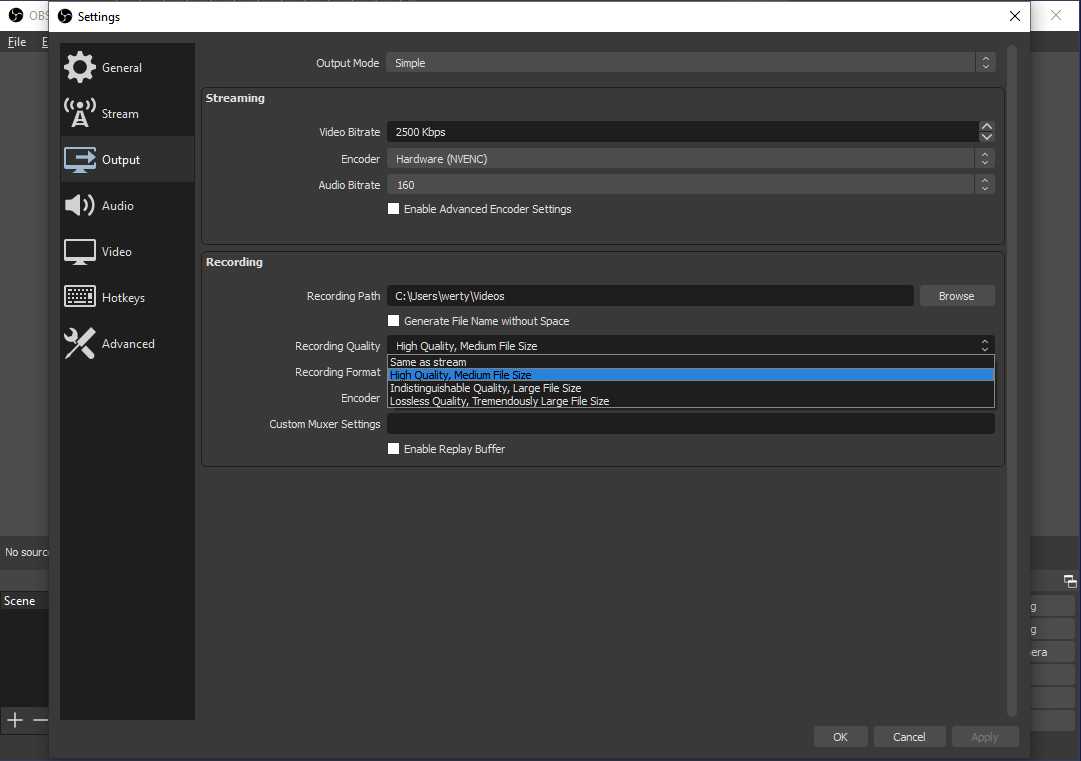
Step 6: Choose the Recording Quality. Remember a higher quality means a higher file size.
Step 7: Select the Recording Format.
Let the encoder be default.
Step 8: Click on Apply and click on OK to save the changes.
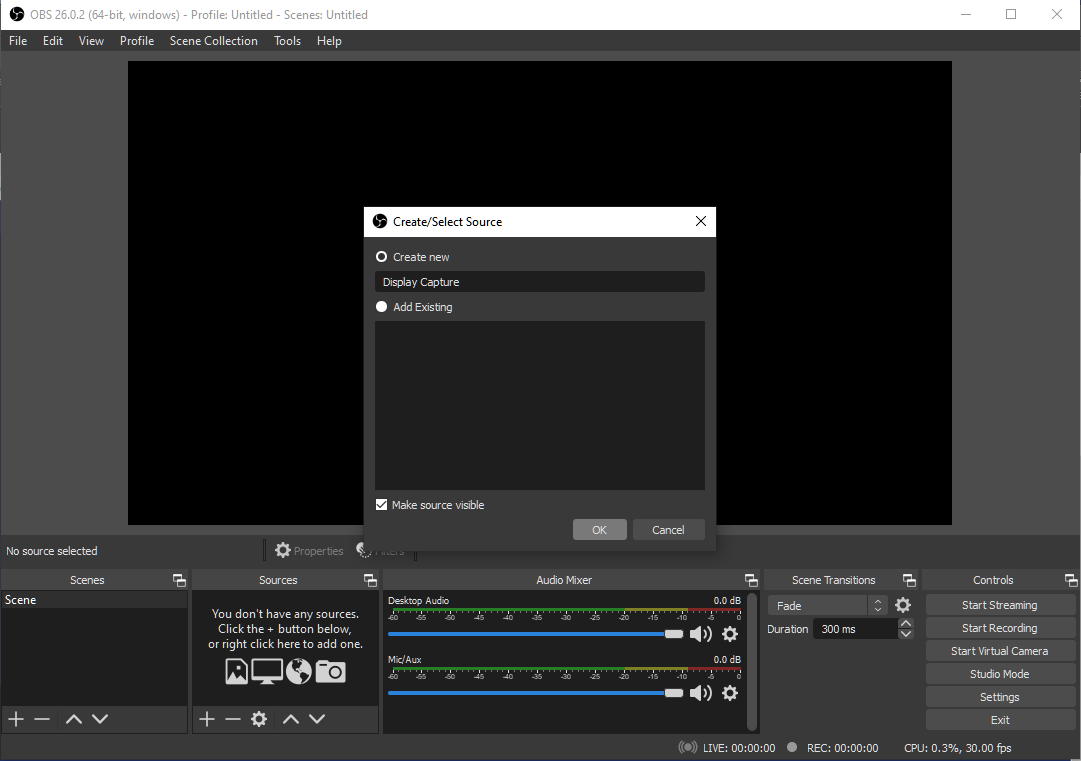
Step 9: Click on + button in Display and select Display Capture.
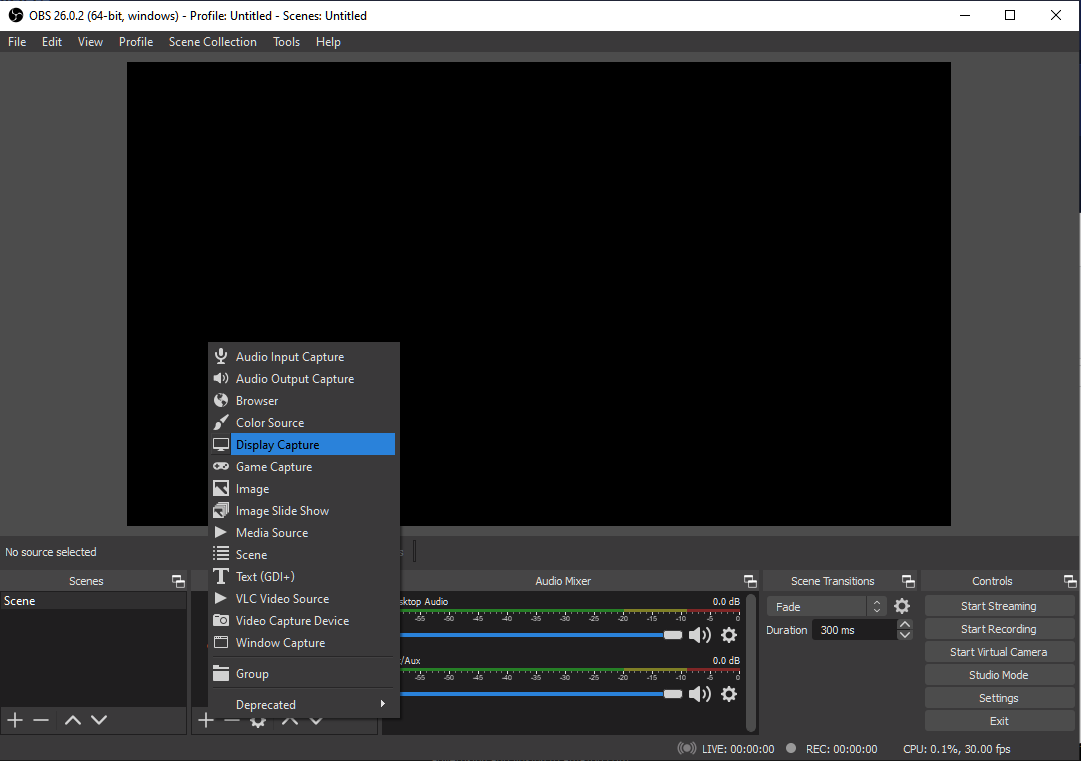
Step 10: On the next window click OK.
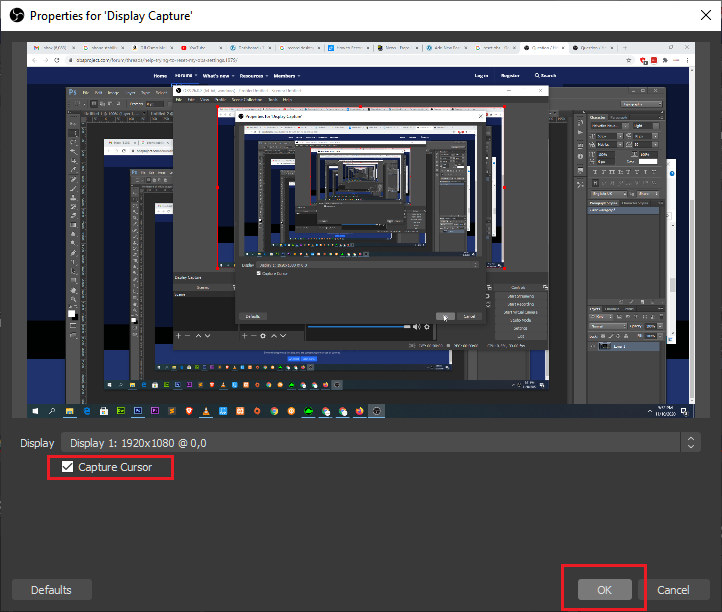
Step 11: On the next windows, you can the choose screen to record. This is very useful if you have multiple monitors. There is also an option to show/hide the cursor. Click on OK if you have a single monitor setup.
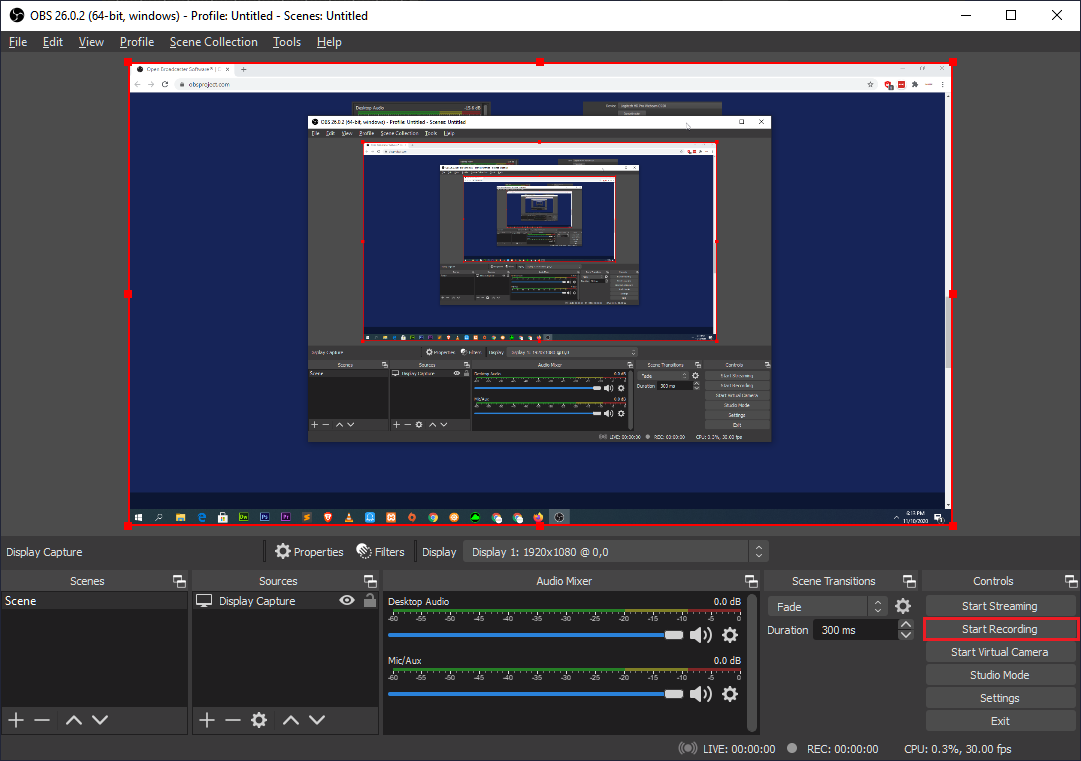
Step 12: Click on Start Recording from the main interface to start recording the desktop video. You can minimise OBS and the recording will be continued. When you can to stop the recording click on the Stop Recording button.
Go to the folder where you chose to store the recorded videos and the newly recorded video should be there.
Thats it, now you’re always just a click away to record screen video.